

Checklist before installing a Zoho integration
Before you proceed with the Zoho integration, you need to have a Zoho account with the Zoho CRM application activated. If you haven’t already done so, follow these steps to activate Zoho CRM on your existing Zoho account.Activate Zoho CRM
Note: Having a general Zoho account (e.g., for Zoho Mail or Writer) does not automatically grant you access to Zoho CRM. You must sign up for it explicitly.If you have not yet activated Zoho CRM, follow these steps:
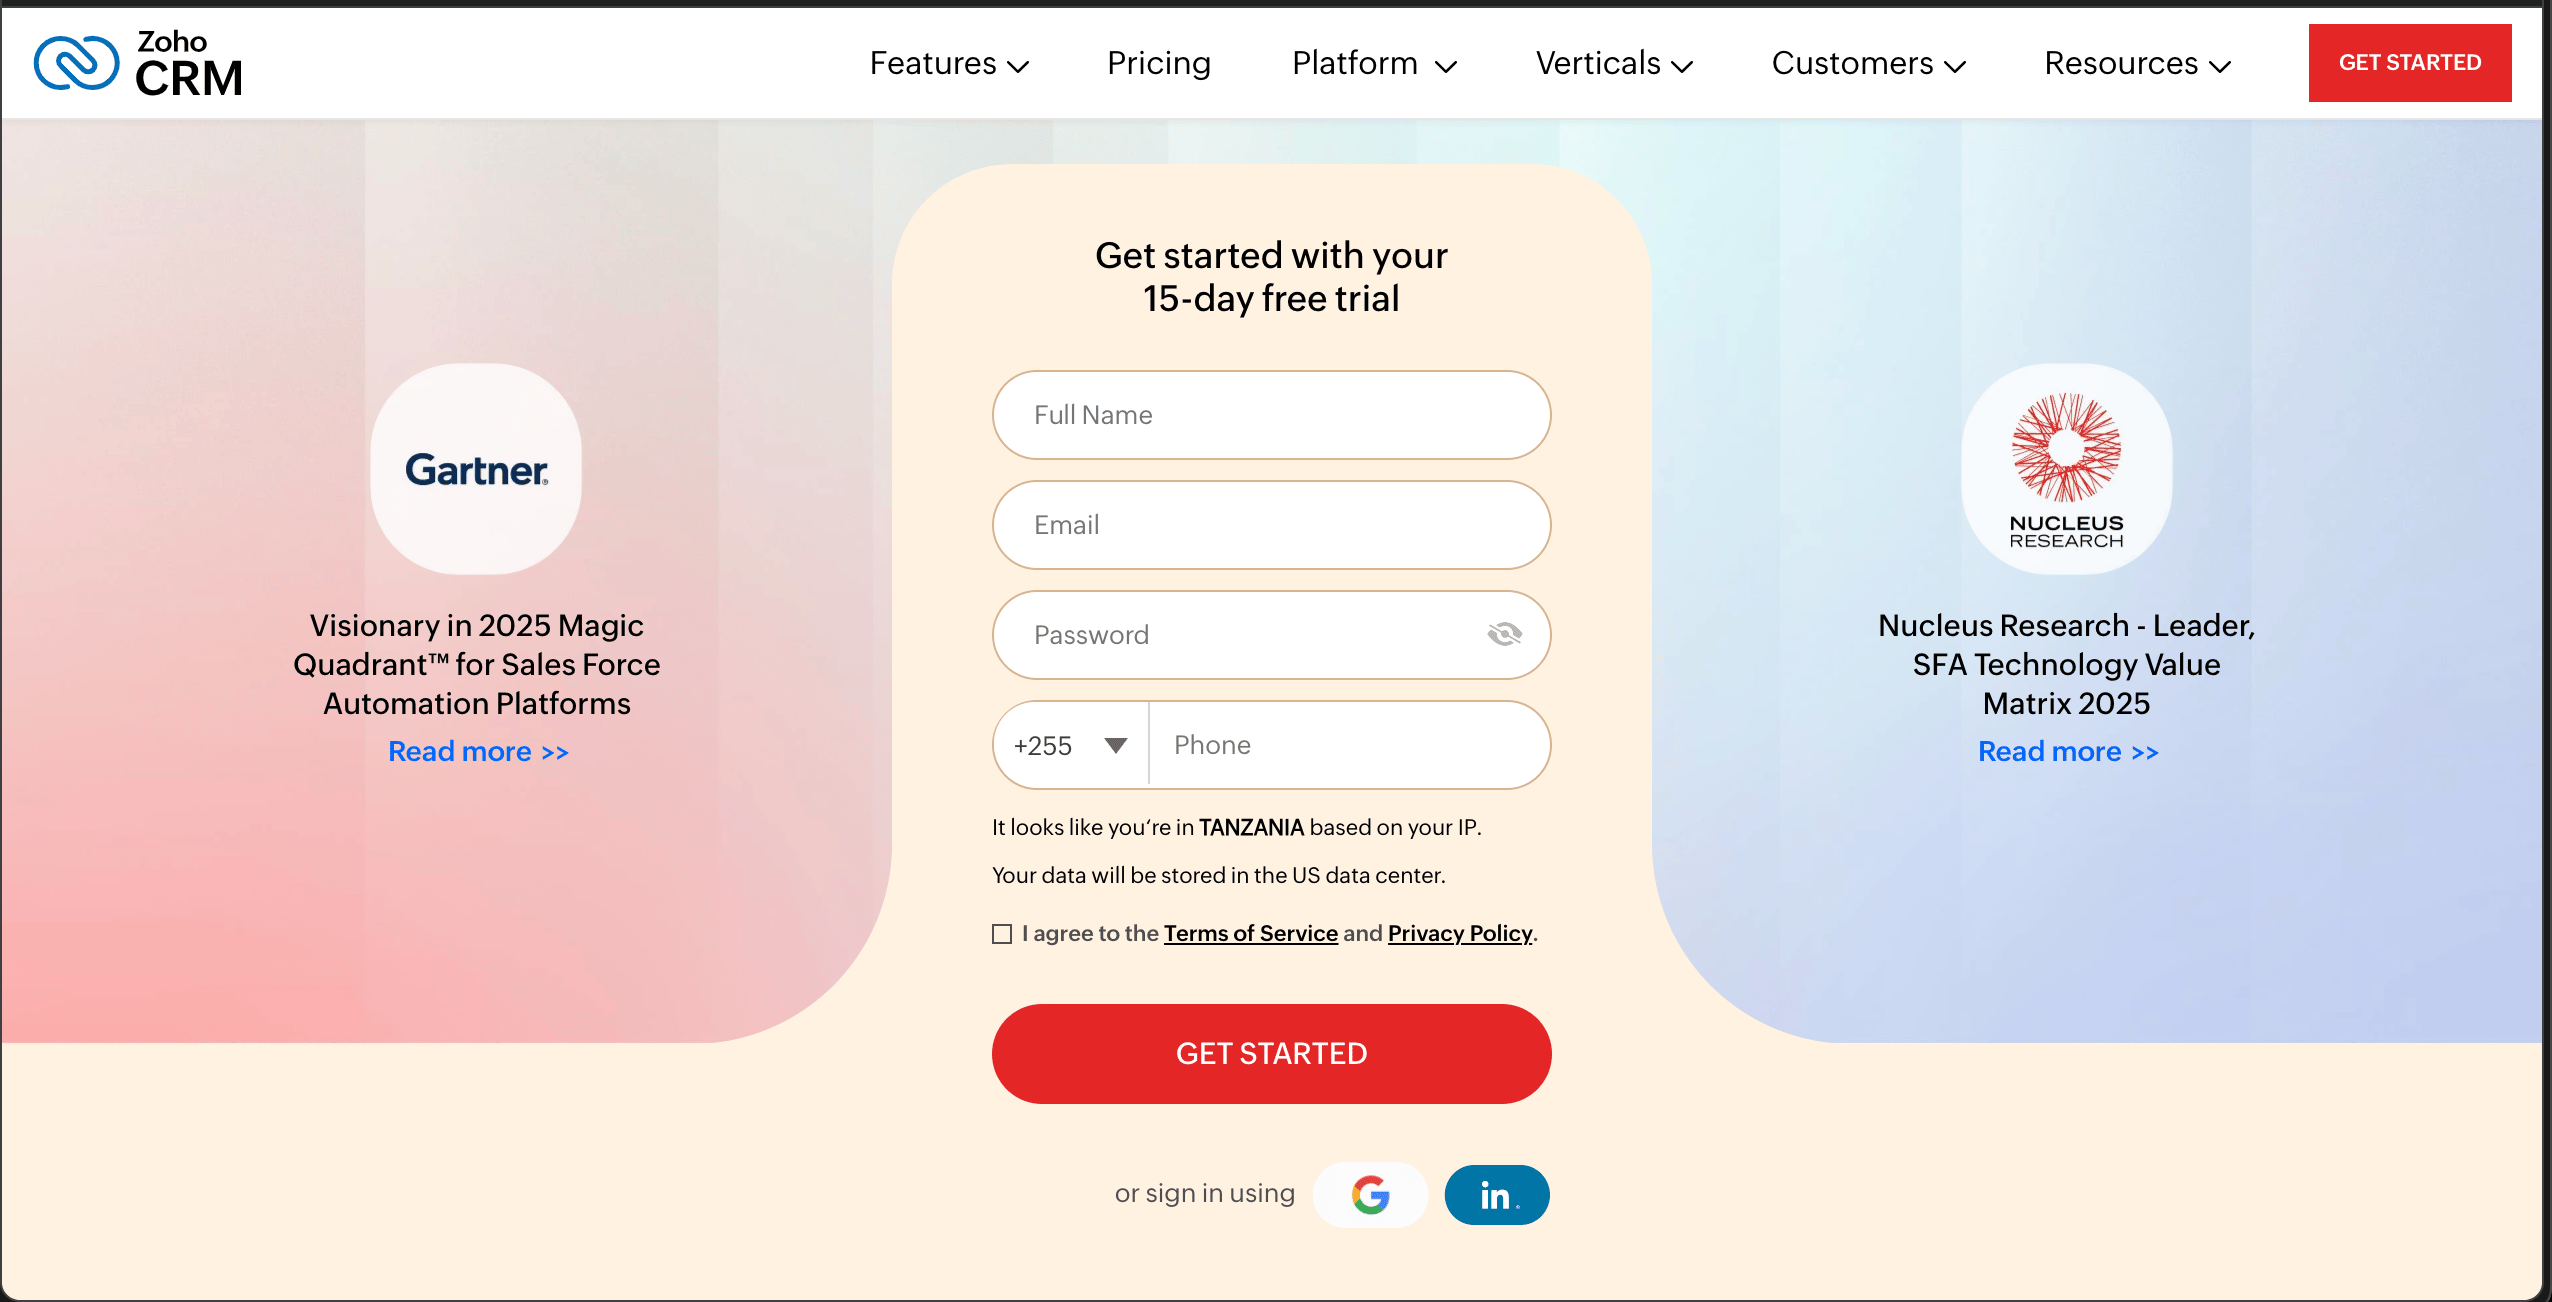
- Navigate to the Zoho CRM signup page.
- Enter your Full Name.
- Enter your Work Email. If this email is already associated with a Zoho account, you will be prompted to sign in.
- Enter your Password.
- Provide your phone number.
-
Click GET STARTED.
User Permissions
In Zoho CRM, there are two main types of users:- Organization users
- Team users
Zoho Mail: set up webhooks for real-time updates (Subscribe Actions)
If your integration uses Zoho Mail Subscribe Actions, you need to create an outgoing webhook in the Zoho Mail console. Zoho Mail has no API for this, so it must be configured by hand.Checklist before you start
- You have a Zoho Mail account with access to the Developer Space section of Settings.
-
Your developer has provided you with a webhook URL in this format:
Create the outgoing webhook
- Sign in to Zoho Mail and open Settings.
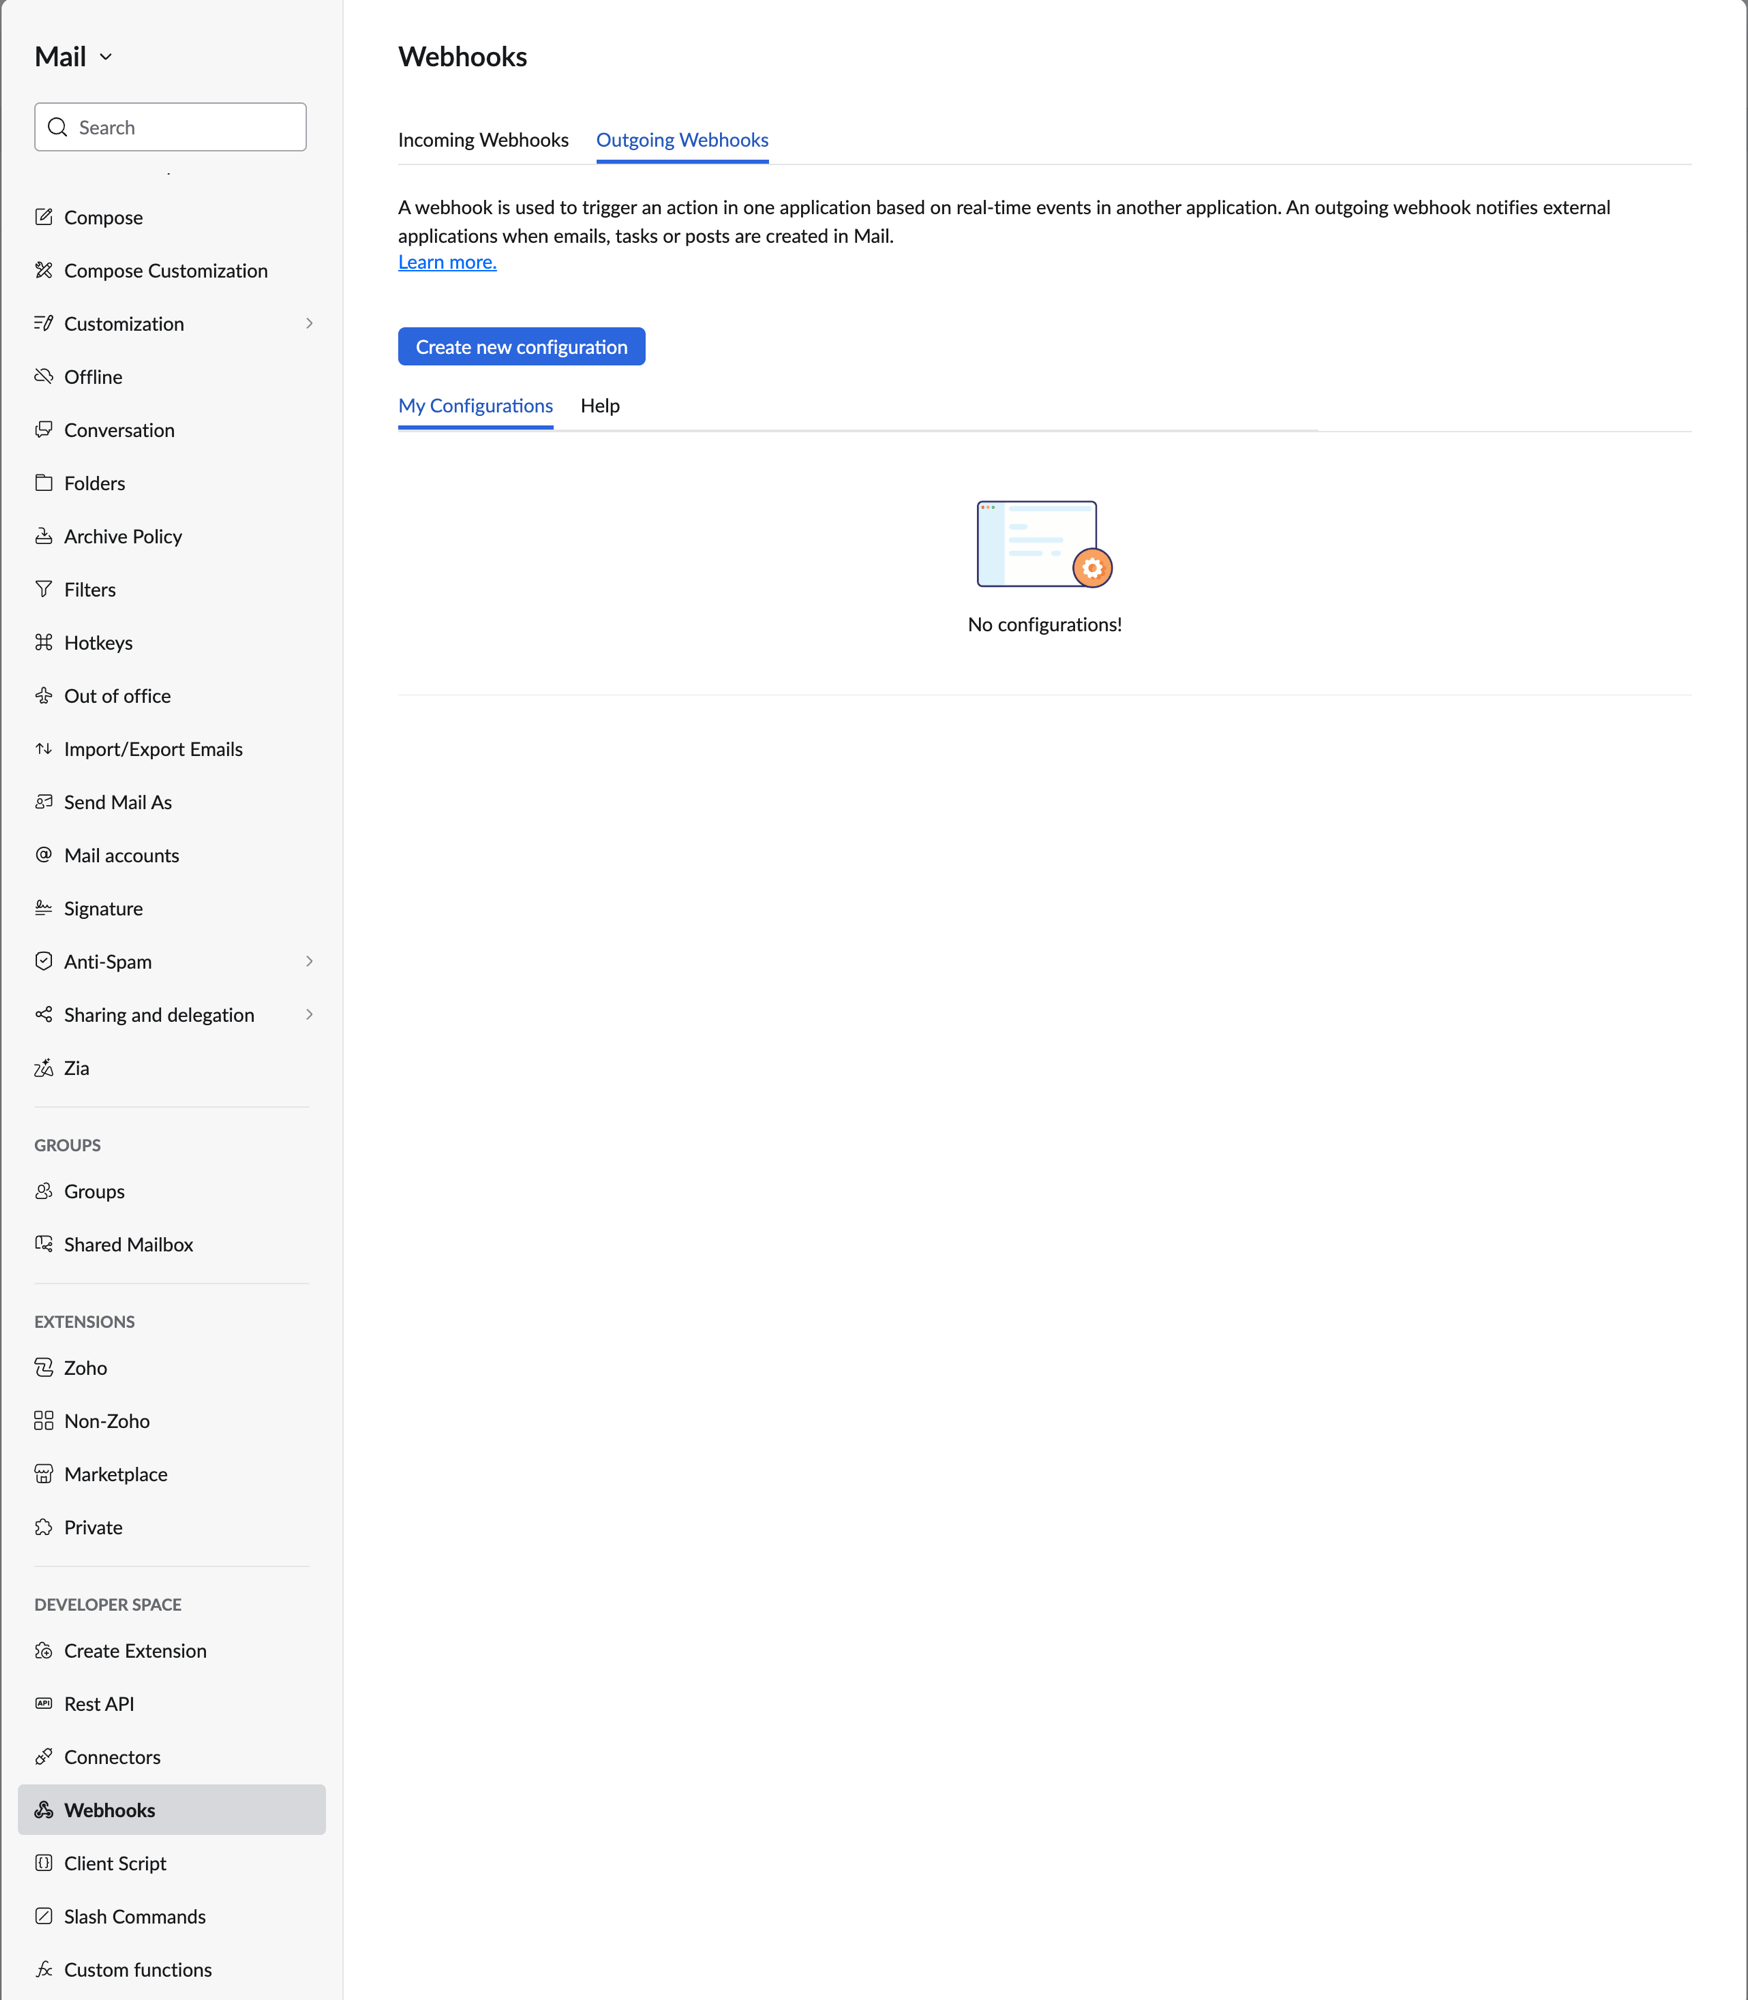
- Scroll to the Developer Space section in the left sidebar and select Webhooks.
-
Select the Outgoing Webhooks tab and click Create new configuration.
-
Select the entity you want to send events for:
- Mail — fires a webhook each time a new email is received. You can optionally narrow it down with conditions (e.g. sender or subject filters) or tags.
- Tasks — fires a webhook on task activity in groups you own or moderate (you can select up to 3 groups).
- Give the webhook a name and paste the webhook URL your developer gave you into the Webhook URL field.
- Save the webhook.